Electrical Wiring Tips
When I think back on how I acquired most of my knowledge about electricity, I have to laugh. I did get some expert instruction from a wise older electrical engineer who happened to know many aspects of the National Electric Code by heart. He helped me re-wire the first house I owned. My brain was so receptive to getting this information that I absorbed everything he showed me. For example, once he showed me how to wire two 3 way switches that worked independently to power a stairwell light fixture, I instantly understood
As I took on other jobs, I started to read books on the subject and do trial and error experiments. Back 25 years ago, I didn’t have the respect I currently have for electricity. Luckily, I am still alive and my work has never caused a fire. But there have been some close calls
Top Tips
Perhaps the biggest tip I can offer is to plan for plenty of circuits. The cost of a 40 circuit panel vs. a 30 circuit panel is peanuts. Two hundred fifty feet of 12 / 2 cable with ground is peanuts. Anticipate what the load for a circuit might be and if in doubt, simply add another circuit to a room addition or house. Heck, add two more!
Consider using 12/2 wire as your minimum wire size. I did that in my own home after years of frustration working at other people’s homes. I could notice a voltage drop at some houses when I used my power tools. I quickly learned that I was at the end of a long stretch of 14 gauge wire. Fourteen gauge wire supports 15 amps or 1,800 watts. But 12 gauge wire is rated for 20 amps or 2,400 watts. That is a significant difference.
Plan for big tools in your garage or workshop. If you have a table saw, it should have its own circuit. Those motors can draw lots of juice on startup and when a thick board is being cut with a semi-dull blade!
What are the tips for electrical wiring
Electrical wiring is like the vein of your house. If your vein gets cut then you may die, likewise if wiring is not done properly then your whole house may get charged causing accidents. so before doing wiring Consult an expert electrician which can give best suggestion to you.
Home Electrical wiring can be a tricky business and requires a great deal of attention. It is an essential requirement for almost every household and commercial building. This industry has seen significant growth in the past few decades. The standards have improved both in the safety and aesthetic avenue of the segment. This growth is attributed to the enhanced awareness and increasing lifestyle expectations. The consumers have a clear view of their requirements and have the capability to communicate their needs in the right manner. Though there is a high demand in the sector, there are still instances of faulty wiring and electrical fires. It is mainly due to the usage of a low-quality product and underestimating the current flow. This calls for the need for identifying the ideal electrical companies in Brisbane as the partner to meet the growing demands.
The ideal thing to do would be buy some cable cover conduit. It arrives in various sizes and lengths and also colors. It’s flexible and is split the whole length of this conduit, that way you’ll be able to come out of it everywhere together with your wires and get diam. Conduit to cover cables which come out of the main/larger conduit. Then use matching zip ties to fasten it neatly set up.
Electrical wiring can be as simple as following these tips. Connecting cords, circuit connections, device connections, and electrical panel connections all require some type of wiring connection. This tutorial is loaded with electrical wiring tips to make the job simple and easy to accomplish.
Whether you’re a first-timer or an old pro who just needs a few refresher tips, having a hands-on lesson will make the job that much easier. Sometimes, having the right tools for the job is just as important as knowing how to do the task. These electrical wiring tips will make your electrical projects a snap!
Electrical Rough-in Tips
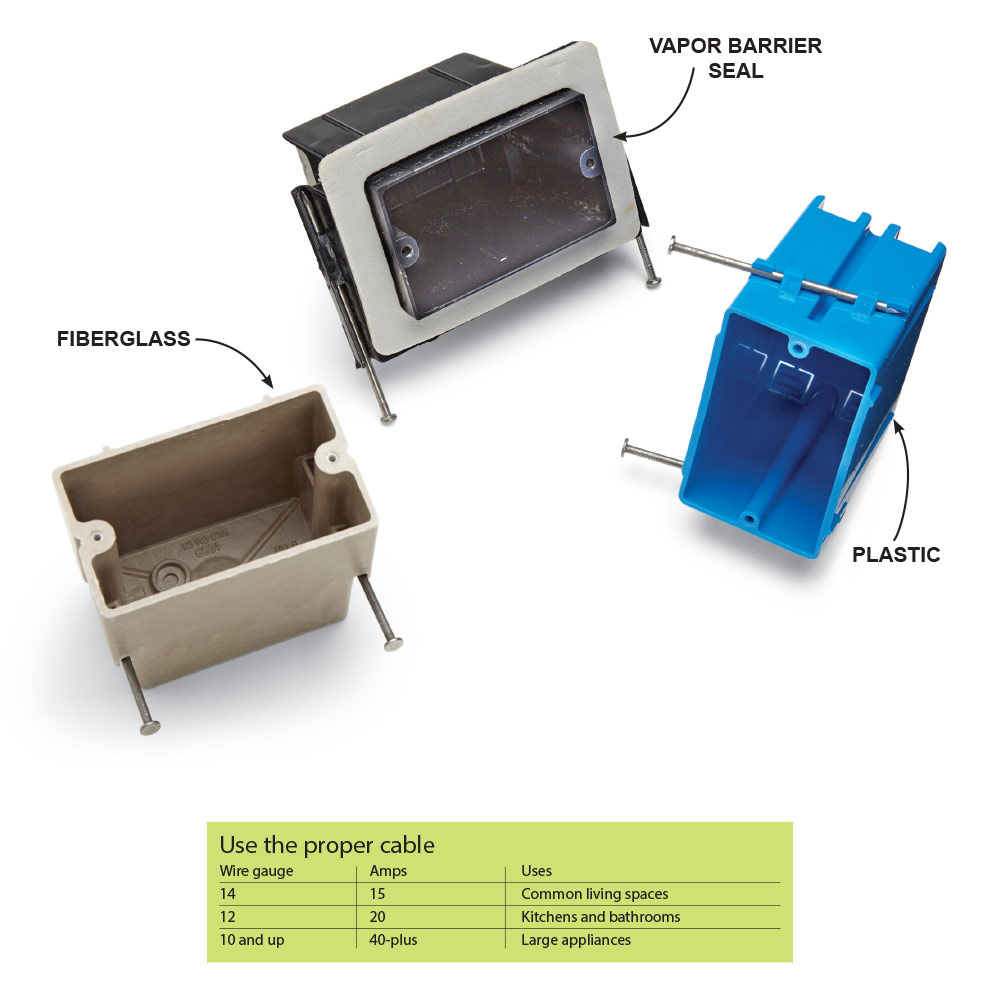
Which electrical box works best?
Either plastic or fiberglass boxes will do the job, and each is completely code compliant. Some electricians prefer fiberglass models because they’re tougher, but others prefer the plastic models because they’re cheaper. Whatever style you choose, pick box sizes that have a volume of at least 20 cu. in. Dimmer switches and other smart devices are common these days and take up more room in the box than the simple devices of the past. Plus, bigger boxes just make wiring easier, especially if they’re crammed full of wires and connectors. Boxes destined for exterior walls and ceilings must be equipped with a vapor barrier seal.
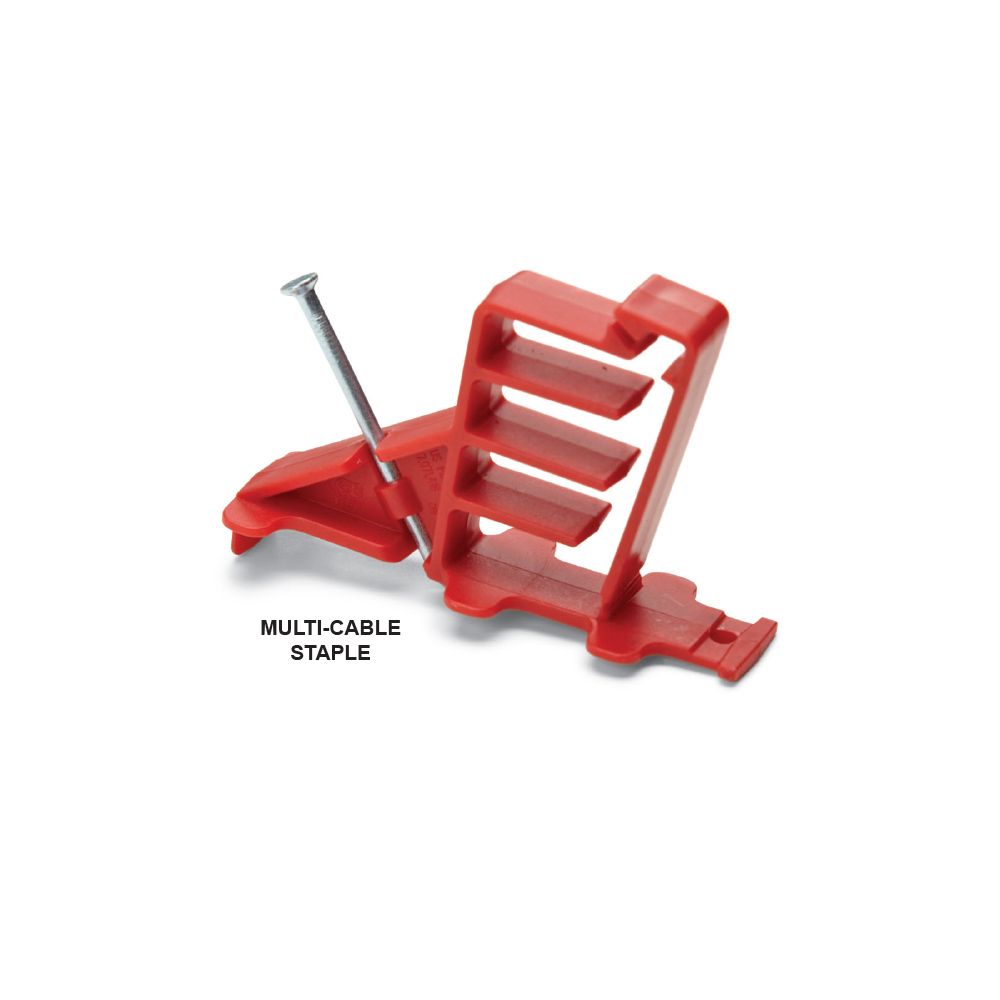
Special cable staples
Staples (and drilled holes) need to be at least 1-1/4 in. away from the edge of a framing member. In some cases, that means stacking wires on top of one another and using one staple to secure them. Most standard staples can handle two wires. Never install staples over multiple wires unless the staple is approved for it. The staple package should list how many wires it’s rated for. The staple shown here is good for up to four wires.
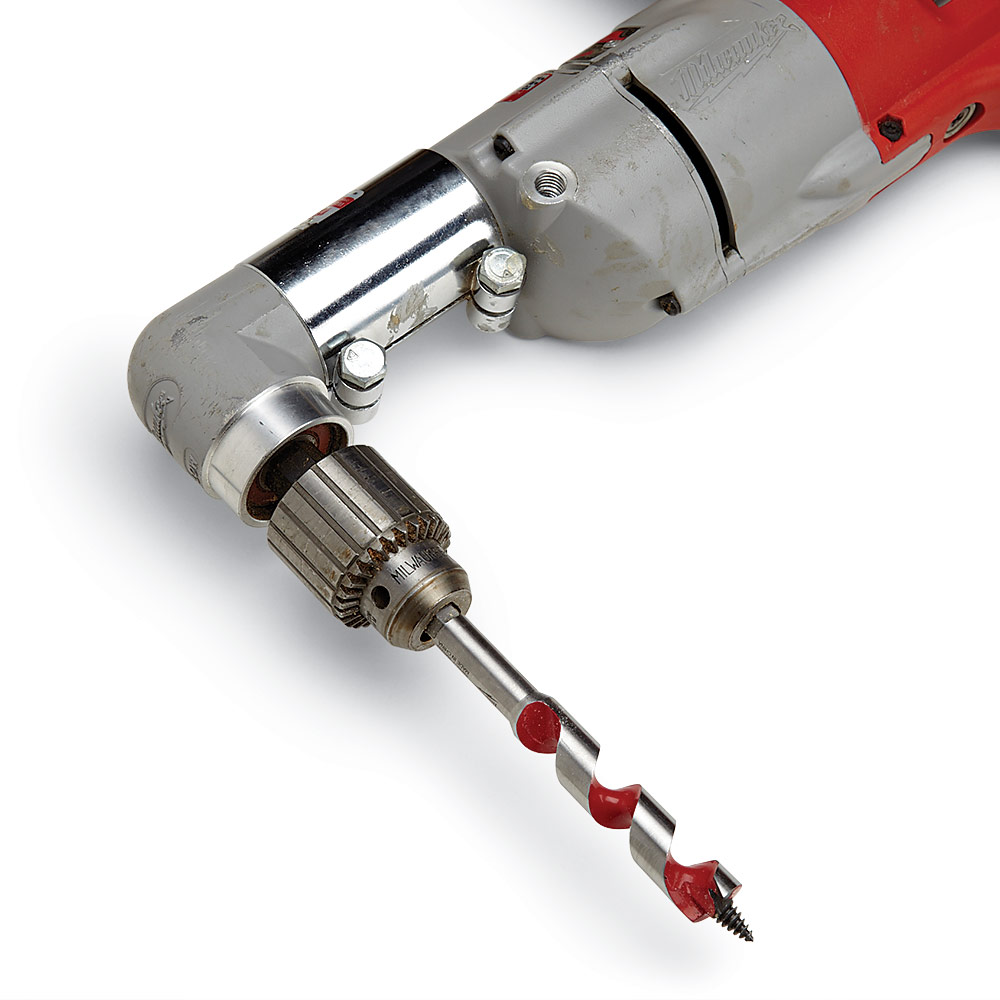
Auger nits and angle drills work best
A 3/4-in. spade bit will work OK for drilling the holes, but auger bits drill faster and require less effort. Choose a bit like this Milwaukee ship auger bit that will chew through nails. It’s easier to drill straight holes through the studs with a right-angle drill. You can rent right-angle drills by the day, or you could buy an angle attachment for your own drill.
Install plates before pulling wire
Electrical cables need to be set back 1-1/4 in. or more from the edge of a stud or wood-framing member to protect cables from wayward nails and screws. Install steel cable-protection plates over holes drilled closer to the edge. Keep several plates in your pouch while you’re drilling and install them right away so you don’t forget.
Drill straight, aligned holes
Keep the holes straight and at the same height. Pulling cable through several consecutive holes drilled at different angles or heights is difficult because the cable will snag on the sharp edges and fight you the whole time! Straight, aligned holes make pulling cable a breeze.
Why you should know the basics of your house wiring
for a homeowner, it is important that you should at least know the basics of house wiring to avoid any challenges in future especially if you are not an electrical contractor. When your electrician is doing electrical installations as part of the remodelling project of your house, you should have some amount of knowledge about the house wiring basics by simply noticing the processes. The parts of electrical wiring fittings that are located in your house are-receptacles, switches, light outlets, appliances etc. We shall briefly explain them
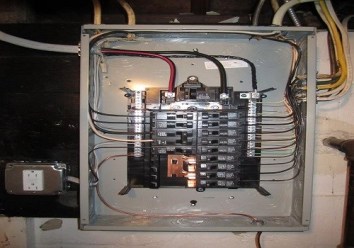
Main Service Panel
This is a basic house wiring point responsible for the distribution of power to all circuits present in the house. This electrical wiring at home is the central distribution point and each circuit has a fuse or which is called circuit breaker.
Electric Meter
This is a basic electrical wiring point to indicate how much power is used in a household. The standard unit of measurement in the electricity meter is the KW hour. This amounts equal to the energy used by a load of one kilowatt over a period of one hour.
Service Head
This type of house wiring is also called the weather head/weather cap. This is the entry point of aerial electrical wiring installation into your home. This is a pivotal point where all the wires will enter the home at an angle of 45 degrees. It looks like a hood, waterproof in nature. These wires are powerful and carry a standard amount of 240-volt service to your home. They contain two wires with 120-volt current and one grounded neutral wire.
Electrical Boxes as a part of house wiring
They are a basic part of the house wiring structure where the endpoint where the wires are connected and provides power either as a switch or an outlet. This type of electrical wiring is an essential requirement for mounting devices, for example, switch, receptacle and light fixtures. The outlets are mostly used, while a ground fault circuit interrupter or GFCIs are needed in some places of your house. They are usually contained in either a plastic or a metal electrical box as per standard recommendations.
proper steps to follow when wiring your house
Design a writing diagram
Design a wiring diagram which shows the location of the breaker box and the path of the wires to each outlet
Install conduits
Start by running the longest wires first to avoid wastage conduits in walls even if you don’t anticipate using them right away. Start each wire upstairs and pull it through to the basement. This way, you do not use a ladder to push the wire up between floors. You should also leave at least one foot of extra wire at each end just in case you need to move things around later.
Know outlet count
Determine how many outlets and switches will run on one circuit. Normally, six outlets per a 110-voltage circuit is advisable in a living area, while as few as two per circuit are the standard in a kitchen, where appliances use more wattage.
Drill wire holes
Before drilling any holes, make sure you know what is on the other side of the wall/floor to avoid drilling through any electrical wires, ductwork, or water pipes. Proceed by drilling holes with a 1-inch bit in the middle of the studs where your wires will travel. The more outlets you have, the safer your home.
Set a breaker
Set your breaker box where you can easily access it in the future. A location in a basement or a utility room is desirable.